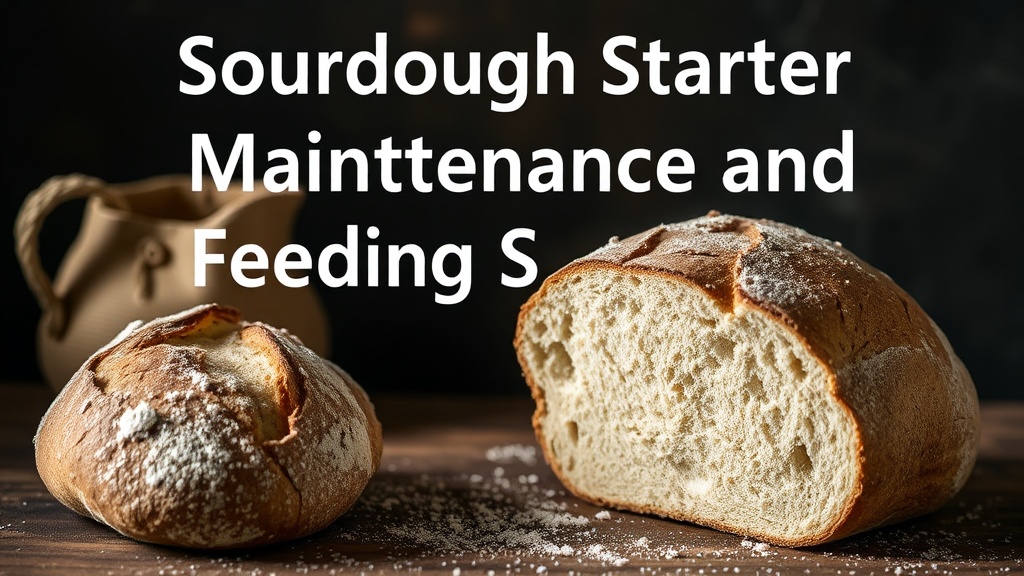
Sourdough Starter Maintenance and Feeding Schedules

In this guide, you'll learn how to maintain a healthy sourdough starter through various feeding schedules, storage methods, and troubleshooting techniques. We'll cover how to manage your starter based on your baking frequency, whether you're baking daily or once a month, and how to ensure your wild yeast remains active and predictable.
How often should I feed my sourdough starter?
The frequency of feeding depends entirely on how often you plan to bake and the temperature of your kitchen. If you are baking every single day, you can keep your starter on the counter and feed it once or twice a day. However, most home bakers find that a more relaxed schedule works better for their lifestyle.
If you keep your starter at room temperature, you need to feed it regularly to prevent the acidity from rising too high. If the mixture becomes too acidic, it might actually start to break down the gluten structure of your flour. (This is a common mistake for beginners who let the starter sit too long without fresh food.)
Here are the three most common maintenance paths:
- Daily Baker: Feed once every 24 hours at room temperature.
- Weekend Baker: Keep the starter in the refrigerator and feed it once a week.
- Occasional Baker: Keep it in the refrigerator and feed it once every two weeks.
I personally use King Arthur Flour organic bread flour for my regular feedings because the high protein content provides a stable environment for the yeast. You can find detailed information on grain protein levels via the Wikipedia page on Bread to understand why protein matters.
Don't overcomplicate it. A healthy starter should smell slightly fruity or tangy—not like gym socks or pure vinegar. If it smells like acetone (nail polish remover), it's hungry. Feed it immediately.
What is the best ratio for feeding sourdough?
A standard 1:1:1 ratio of starter, water, and flour is the most reliable way to maintain a consistent culture. This means if you have 50 grams of starter, you add 50 grams of water and 50 grams of flour.
While 1:1:1 is the baseline, many experienced bakers prefer a "high ratio" feeding to keep the acidity low. For example, a 1:5:5 ratio (1 part starter, 5 parts water, 5 parts flour) is excellent for long-term stability. This gives the yeast a massive amount of food and prevents the buildup of metabolic waste.
I've put together a quick comparison of feeding styles to help you decide which one fits your rhythm:
| Feeding Style | Ratio (Starter:Flour:Water) | Best For... | Maintenance Level |
|---|---|---|---|
| Standard | 1:1:1 | Daily baking | High |
| Diluted | 1:5:5 | Reducing acidity | Medium |
| Overnight | 1:10:10 | Longer intervals | Low |
It's worth noting that the type of flour you use changes the speed of fermentation. Rye flour, for instance, ferments much faster than all-purpose flour. If you're using a heavy rye, you might need to adjust your timing or ratios to keep things from peaking too quickly.
If you want to get technical about the science of fermentation, the research on sourdough fermentation explains how different microbes interact during the process. It's fascinating stuff, even if it's a bit dense.
How do I store sourdough in the refrigerator?
You store sourdough in the refrigerator by keeping it in a sealed glass jar with a lid that isn't airtight, or by using a breathable cover. The cold temperature significantly slows down the metabolic activity of the yeast and bacteria, allowing the culture to remain dormant for much longer.
The refrigerator is your best friend if you aren't baking every day. It prevents the starter from exhausting its food supply and becoming a liquid mess. I use a Mason jar for my starter because it's durable and easy to clean, though you should always leave enough headspace for any gas expansion.
When you're ready to bake again after a stint in the fridge, don't just pull it out and start mixing dough. You'll have a hard time getting a consistent rise. Follow these steps instead:
- Take the jar out of the fridge and let it sit at room temperature for an hour.
- Perform a "wake-up" feeding. Discard most of the starter and feed it a 1:2:2 ratio.
- Wait for the starter to double or triple in volume (this might take 4-8 hours depending on your kitchen temp).
- Once it is bubbly and active, use it in your recipe.
One thing to watch out for: the "hooch." This is a thin layer of liquid that can form on top of your starter. It's not mold; it's just alcohol produced by the yeast. You can pour it off or stir it back in, but it's a clear sign that your starter is hungry. If the liquid is pink or orange, though, throw it away. That's a sign of bad bacteria, and you'll want to start over.
Temperature is the biggest variable here. If your kitchen is a chilly 18°C (64°F), your starter will move like a snail. If you're in a warm kitchen, it'll go through its entire cycle in a few hours. Always watch the bubbles, not the clock. The bubbles don't lie.
If you're ever unsure about the health of your flour or the safety of your grains, checking the USDA website can provide guidelines on food safety and storage standards. It's a good resource for understanding how different environments affect organic matter.
Maintaining a starter isn't about perfection—it's about consistency. Whether you're a meticulous baker or someone who just wants a loaf of bread once a week, there's a schedule that works for you. Just keep it fed, keep it happy, and don't be afraid to start over if things go sideways. We've all been there.