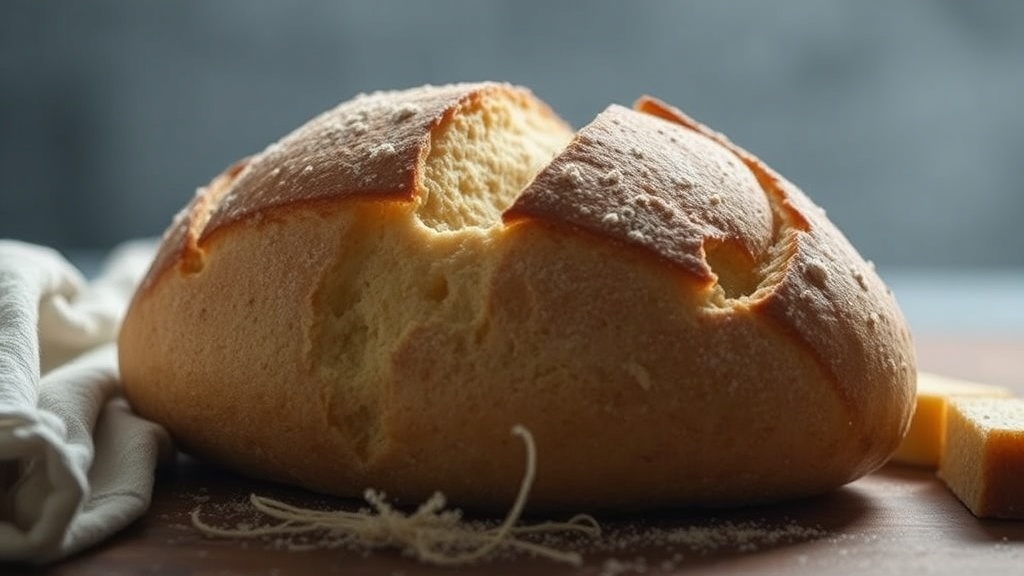
Why Your Homemade Bread Crust Is Always Soft

Steam is the single most influential factor in the first ten minutes of a bake, yet most home ovens are designed to strip moisture away as fast as possible. While professional deck ovens use injected steam to keep the surface of the dough pliable, home ovens rely on heat-induced evaporation. This lack of moisture leads to a dull, leathery, or even tough crust that fails to achieve that shatteringly crisp texture we see in artisanal bakeries. Understanding how to manipulate the environment inside your oven is the difference between a heavy loaf and a light, crusty masterpiece.
A single loaf of bread can lose up to 20% of its weight through evaporation during the baking process. If that moisture leaves too early or too inconsistently, you end'll end up with a dense, unappealing loaf. To get that professional look, you have to create a micro-environment that mimics a high-end bakery setting.
How Do I Get a Crispy Crust in a Home Oven?
The most common method for achieving professional results is the "Dutch Oven Technique." When you bake bread inside a heavy, lidded pot, you trap the steam escaping from the dough itself. This creates a high-humidity environment that allows the loaf to expand fully (the oven spring) before the crust sets. Without this steam, the crust hard into a hard shell too quickly, preventing the bread from rising to its full potential.
If you aren't using a heavy pot, you'll need to create a steam source manually. Here are the three most reliable methods:
- The Cast Iron Skillet and Ice Method: Place a cast iron skillet on the bottom rack of your oven. Right after you slide your bread in, drop two or three ice cubes into the hot skillet and quickly close the door. The resulting cloud of steam provides the moisture needed for the initial expansion.
- The Water Tray Method: Place an empty baking pan at the very bottom of the oven. When the bread goes in, pour a cup of boiling water into the pan. Be careful—this can cause a sudden temperature drop or even a steam burn if you aren't quick.
- The Water-Soaked Dough Method: Some bakers use a "wet" dough approach, though this is more advanced and requires precise hydration levels.
The goal isn't just a hard crust; it's a thin, crispy crust. If your crust is too thick, you likely baked it too long at a lower temperature, or your steam evaporated too quickly. For a deeper dive into the physics of bread, the King Arthur Baking archives offer excellent technical breakdowns on hydration and oven spring.
Can I Use a Baking Stone for Better Results?
A baking stone or a pizza stone is excellent for heat retention, but it doesn't solve the steam problem on its own. In fact, a stone can actually accelerate the drying process if you aren't careful. When using a stone, you are essentially baking on a very high-heat surface that pulls moisture out of the dough through the bottom. This is great for a crispy bottom, but you still need to address the air above the bread.
If you want to use a stone, I suggest the "water tray" method mentioned earlier. Preheating the stone is non-negotiable. If you put your dough onto a lukewarm stone, the bottom will be gummy and the top will be dry. You want that thermal shock to kickstart the yeast activity. You can learn more about the thermal properties of different baking surfaces through the resources at Serious Eats.
| Method | Pros | Cons |
|---|---|---|
| Dutch Oven | Consistent steam; great crust | Heavy; limits loaf size |
| Baking Stone | Even heat; crispy bottom | Requires manual steam injection |
| Baking Sheet | Easy to use; low effort | Very difficult to get a good crust |
Does Temperature Affect the Crust Texture?
Temperature is a balancing act. If your oven is too hot, the outside burns before the inside is cooked (the "burnt exterior, raw interior" problem). If it's too cool, the bread becomes a dense, heavy brick. Most sourdough or artisan recipes call for a high initial temperature—around 450°F (230°C)—to trigger a vigorous oven spring. Once the steam has done its job and the bread has doubled in size, many bakers drop the temperature to 400°F (200°C) to finish the bake and dry out the crust.
This two-stage approach is vital. The high heat and steam create the structure, while the lower heat ensures the interior is fully cooked through without the crust becoming overly thick or bitter. If you find your crust is consistently too dark, try lowering the temperature by 25 degrees or shortening the bake time. It's a game of trial and error. Watch how the color changes; you're looking for a deep golden brown, not a dark mahogany, unless that's specifically what your recipe calls for.
One final tip: once the bread comes out of the oven, resist the urge to cut it immediately. The bread is still cooking inside. The steam moving through the loaf helps set the crumb structure. If you cut it while it's hot, you'll lose that internal moisture and end up with a gummy texture. Let it cool on a wire rack to ensure air circulates around the entire loaf, preventing the bottom from getting soggy.